GS Wave Android
Please note that the Wave Lite is an End-of-Life product that is no longer supported by Grandstream and it isn’t available to download anymore.
The current grandstream Wave app that you can download nowadays is only compatible with the Grandstream UCM630x Series.
We can provision GS Wave by entering the provisioning URL directly in the application. For a manual configuration of the application please refer to a further point below in this page.
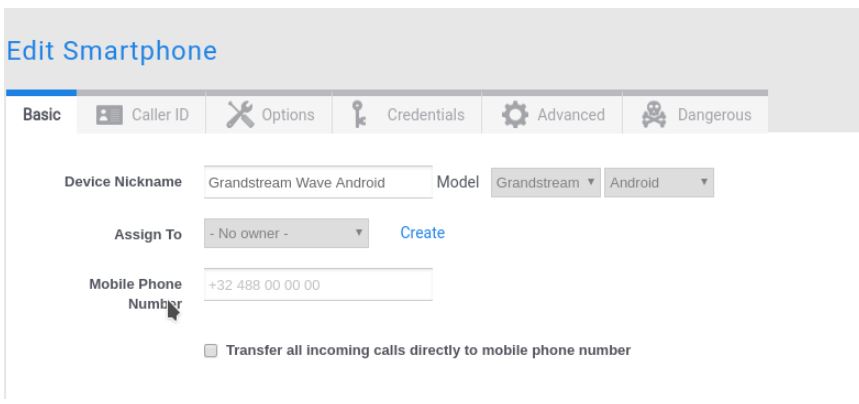
First create a device of type smartphone in your portal and choose the type and model as Grandstream Wave.
Open Grandstream wave mobile.
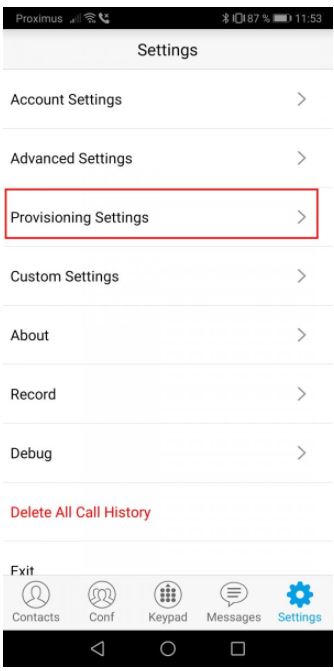
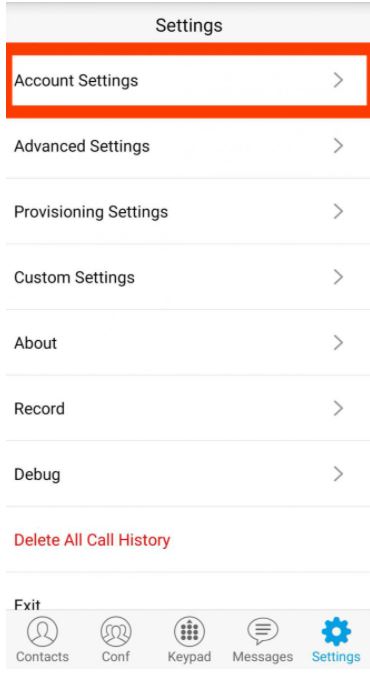
Go to Settings and select Provisioning Settings.
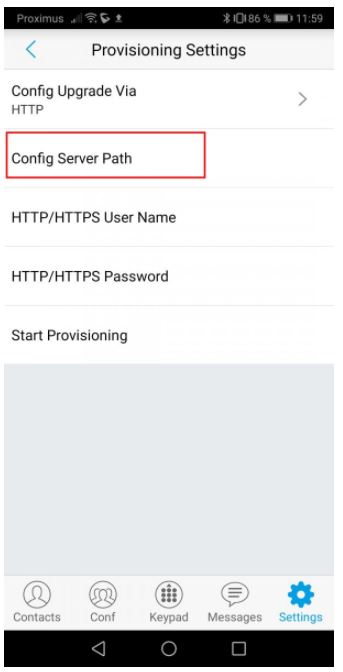
Select Config Server Path.
Enter the provisioing URL. It should me in the form : {account_id}.MYPROVIDER.xyz/p/grandstream/{username}
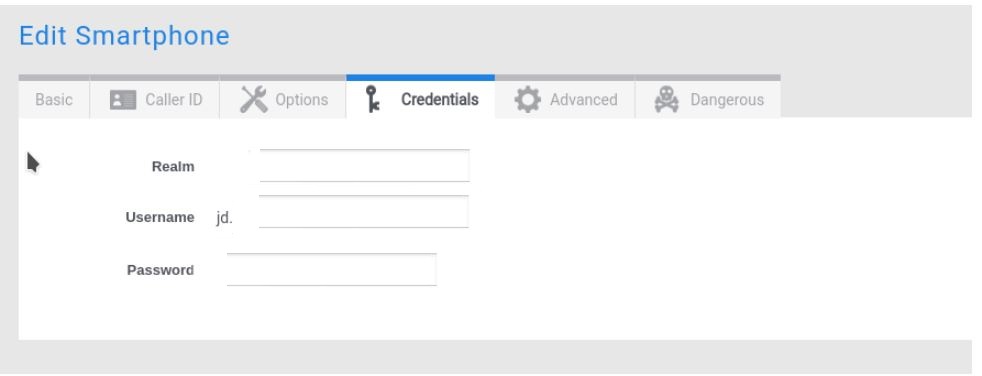
Note : We want to use the username of the device. It can be found in the credentials tab of the device. Please remove the first part until the dot.
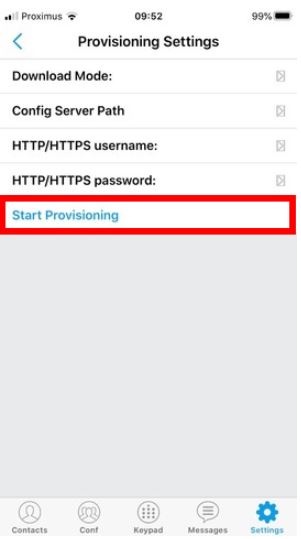
Click on ‘Start Provisioning’.
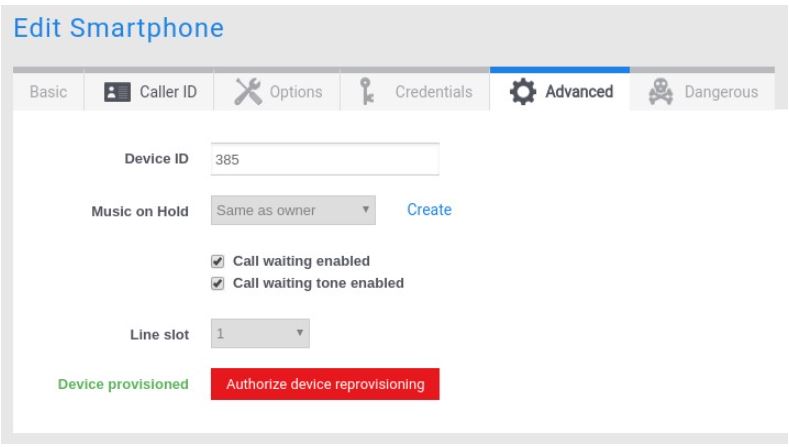
Once the application is provisioned you should see the status set to ‘Device provisioned’ in the interface.
The configuration of BLF’s in the application has to be done manually. Please refer to the part speaking about this in the manual configuration below.
1. Manual Configuration
Configuration of SIP account Manually. The softphone can also be configured manually if you don’t want to use the provisioning url.
First create a device of type smartphone in your portal and choose the type and model as Grandstream Wave.
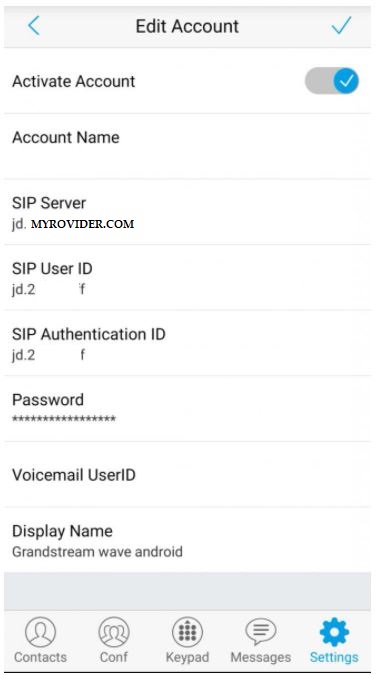
Go to the Credentials tab and use the information you find in there to configure your device.
Tip : Try to avoid 0 or o in the username and password since you will have to enter this manually in the Bria software and confusion can easily occur.
Open Grandstream wave mobile.
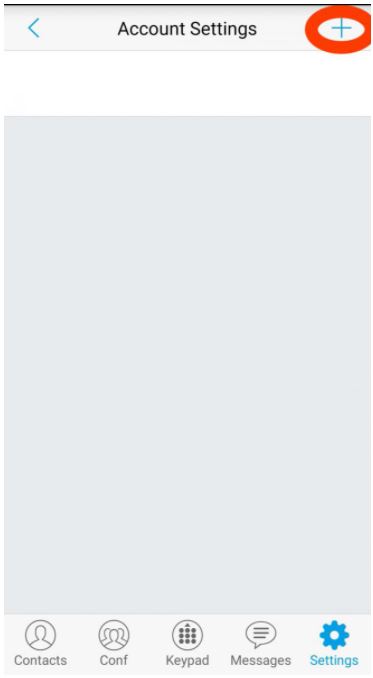
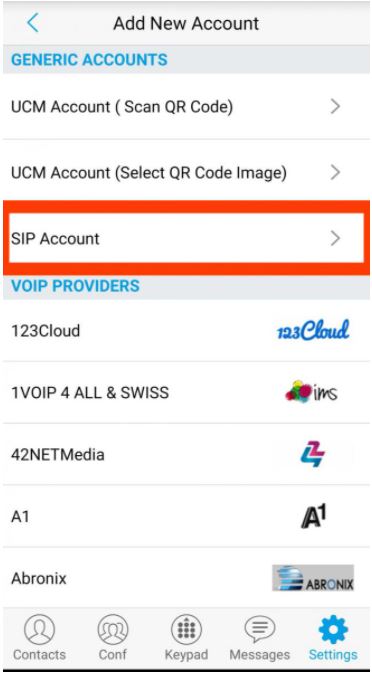
Add a new sip account.
Fill in the device credentials as you can find them on the device page.
Don’t forget to click enable once you are done.
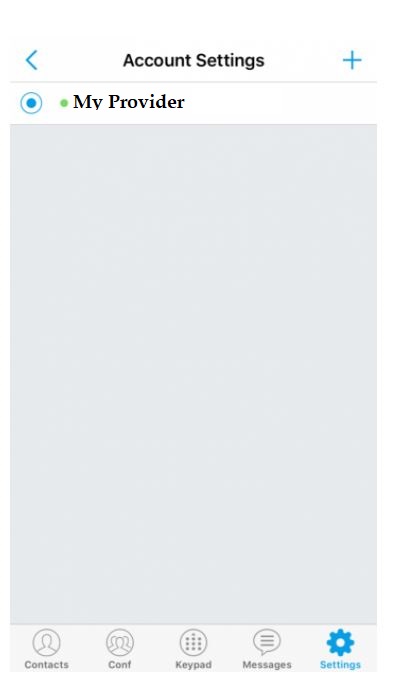
Your Account is registered and ready to be used.
2. BLF configuration
On Grandstream Wave you can configure BLF.
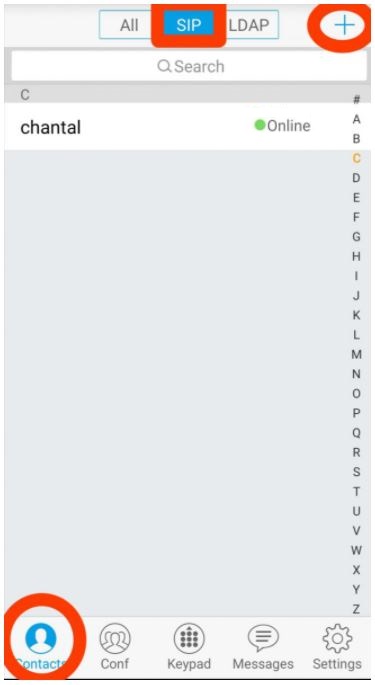
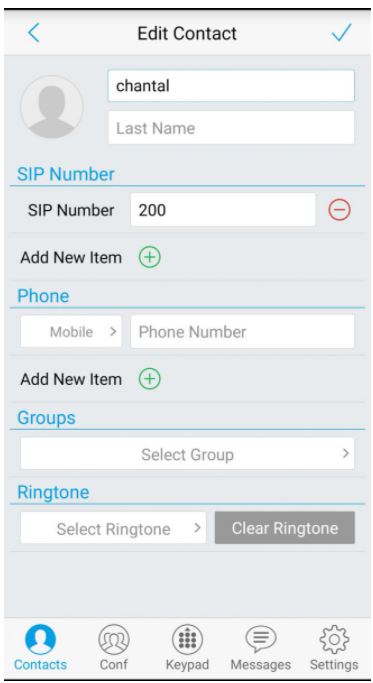
First you will have to add the SIP Contact.
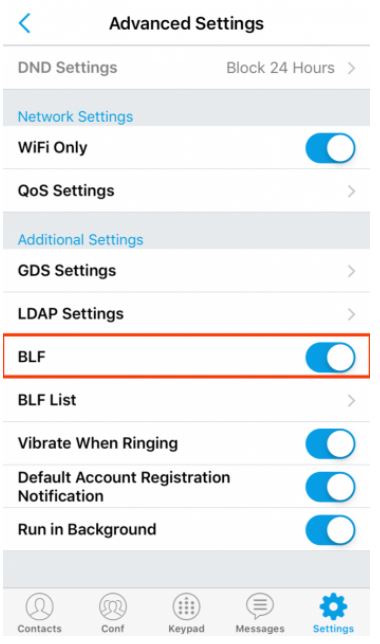
Once the sip contact added, you have to go back to Settings – Advanced Settings and activate BLF.
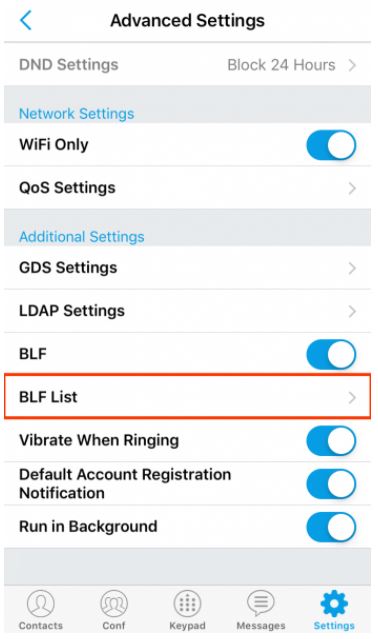
Then click on BLF list.
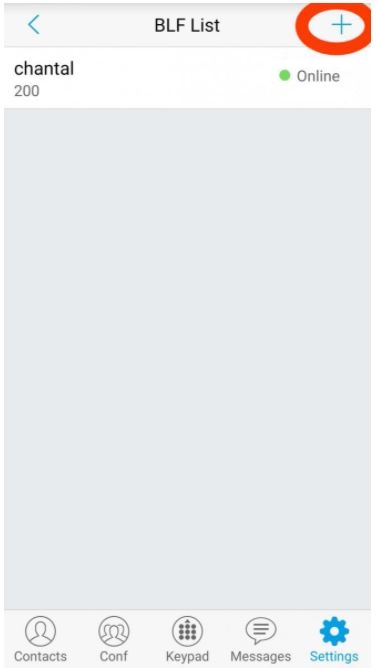
Add a contact.
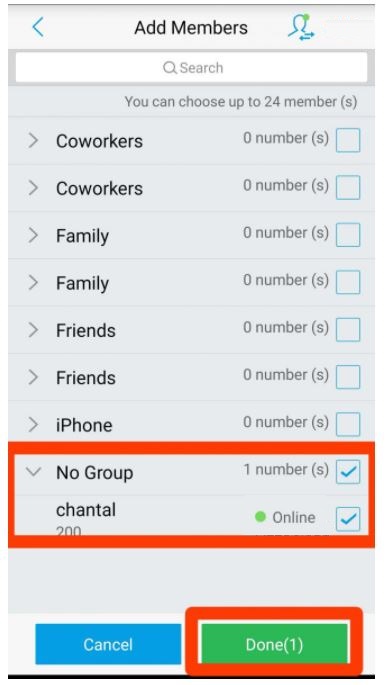
In no group you will find the BLF contact you just created. Click on the check box after their names. Click on Done.
Once done the contact will be added to your BLF contact and you will see the BLF changing once they are on the phone in the SIP contact list.


